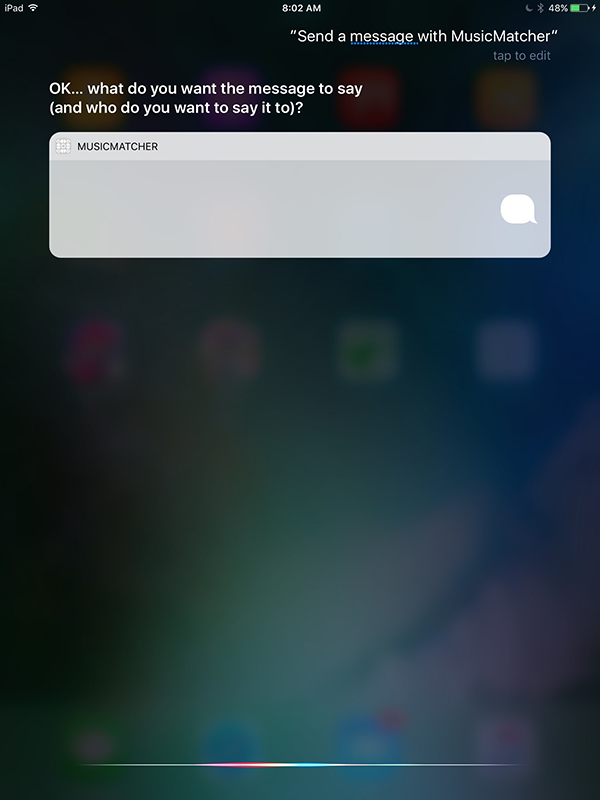
SiriKit Resolutions with Swift 3 in iOS 10 – SiriKit Tutorial (Part 2)
This tutorial written on June 20th, 2016 using the Xcode 8 Beta 1, and is using the Swift 3.0 toolchain.
This post is a follow-up in a multi-part SiriKit tutorial. If you have not read part 1 yet, I recommend starting there.
Resolving requests from SiriKit
In order to make our Siri integration more useful, we can help fill out the content of our message using a callback method from the INSendMessageIntentHandling protocol. Investigating this protocol you can see this show up an optional methods.
resolveRecipients(forSendMessage intent: INSendMessageIntent, with completion: ([INPersonResolutionResult]) -> Swift.Void) resolveContent(forSendMessage intent: INSendMessageIntent, with completion: (INStringResolutionResult) -> Swift.Void) resolveGroupName(forSendMessage intent: INSendMessageIntent, with completion: (INStringResolutionResult) -> Swift.Void) resolveServiceName(forSendMessage intent: INSendMessageIntent, with completion: (INStringResolutionResult) -> Swift.Void) resolveSender(forSendMessage intent: INSendMessageIntent, with completion: (INPersonResolutionResult) -> Swift.Void)
So we can provide SiriKit with further information by implementing as many of these resolutions as we wish. Effectively enabling us to provide information regarding the recipients, content, group name, service name, or sender. These should be relatively self-explanatory.
Let’s try providing some static data for our title and content, to demonstrate how resolutions work.
First, let’s add the resolution for the content of the message, by implementing the resolveContent protocol method.
func resolveContent(forSendMessage intent: INSendMessageIntent, with completion: (INStringResolutionResult) -> Void) { let message = "My message body!" let response = INStringResolutionResult.success(with: message) completion(response)}
Here we create a string resolution result, and call the success function. This is the simplest way to proceed, but we also have the option of returning a disambiguation, confirmationRequired, or unsupported response. We’ll get to those later, but first let’s actually use the data Siri is providing us.
Siri will send in it’s own transcription of our message in the intent object. We’re interested in the content property, so let’s take that and embed it inside of a string.
func resolveContent(forSendMessage intent: INSendMessageIntent, with completion: (INStringResolutionResult) -> Void) { let message = "Dictated text: \(content!)" let response = INStringResolutionResult.success(with: message) completion(response)}
The content property is an optional, and as such we need to make sure Siri actually provided a transcription. If no transcription was provided then a message won’t be entirely useful, so we need to tell Siri that the information is missing and we need this value. We can do this by returning a resolution result calling the needsValue class method on INStringResolutionResult.
func resolveContent(forSendMessage intent: INSendMessageIntent, with completion: (INStringResolutionResult) -> Void) { if let content = intent.content { let message = "Dictated text: \(content)" let response = INStringResolutionResult.success(with: message) completion(response) } else { let response = INStringResolutionResult.needsValue() completion(response) }}

Now SiriKit knows when we try to send a message, that the content value is a requirement. We should implement the same type of thing for the recipients. In this case, recipients can have multiple values, and we can look them up in a variety of ways. If you have a messaging app, you would need to take the INPerson intent object that is passed in and try to determine which of your own user’s the message is intended for.
This goes outside the scope of this Siri tutorial, so I’ll leave it up to you to implement your own application logic for the resolveRecipients method. If you want to see an example implementation, Apple have released some sample code here.
More iOS 10 Tutorials
We’ll be continuing to investigate iOS 10 and publish more free tutorials in the future. If you want to follow along be sure to subscribe to our newsletter and follow me on Twitter.
Thanks,
Jameson