Looking for some help building your Apple TV tvOS App? I’m available for consulting and development, contact me.
This is part 2 of the tvOS tutorial. If you haven’t gone through part 1 yet, I suggest you run through that first.
Adding Interactivity
In the first section we created a simple TVML document with a few buttons. It looked something like this:
<document> <alertTemplate> <title>Hello tvOS!</title> <button> <text>A Button</text> </button> <button> <text>A Second Button</text> </button> </alertTemplate></document>
This is an alert with a few buttons, and they don’t do anything. It’s also rather specific and hard-coded, so maybe what would be better is to generate the XML on the fly. We can do this fairly easily in JS. Let’s add a new function to our main.js file that will encapsulate this alert in to a simpler alert with just an OK button.
function alert(str) { var alertXMLString = `<?xml version="1.0" encoding="UTF-8" ?> <document> <alertTemplate> <title>Hey Listen!</title> <description>${str}</description> <button> <text>OK</text> </button> </alertTemplate> </document>` var parser = new DOMParser(); var alertDOMElement = parser.parseFromString(alertXMLString, "application/xml"); navigationDocument.presentModal(alertDOMElement);}
What we’re doing here is creating a string called alertXMLString that contains the TVML contents of a simple alert template with just 1 button. However for the description we’re using the TVJS string concatenation ${variable} to inject the value of str.
Next, we create a new DOMParser object that converts this string in to an actual XML DOM element.
Finally, we can present the DOM element modally using the presentModal method of the navigationDocument, a globally defined variable that will always contain the root navigation document.
Now, in our onLaunch function, let’s remove the code we had from before and simply call an alert…
App.onLaunch = function(options) { alert("Hello!");}
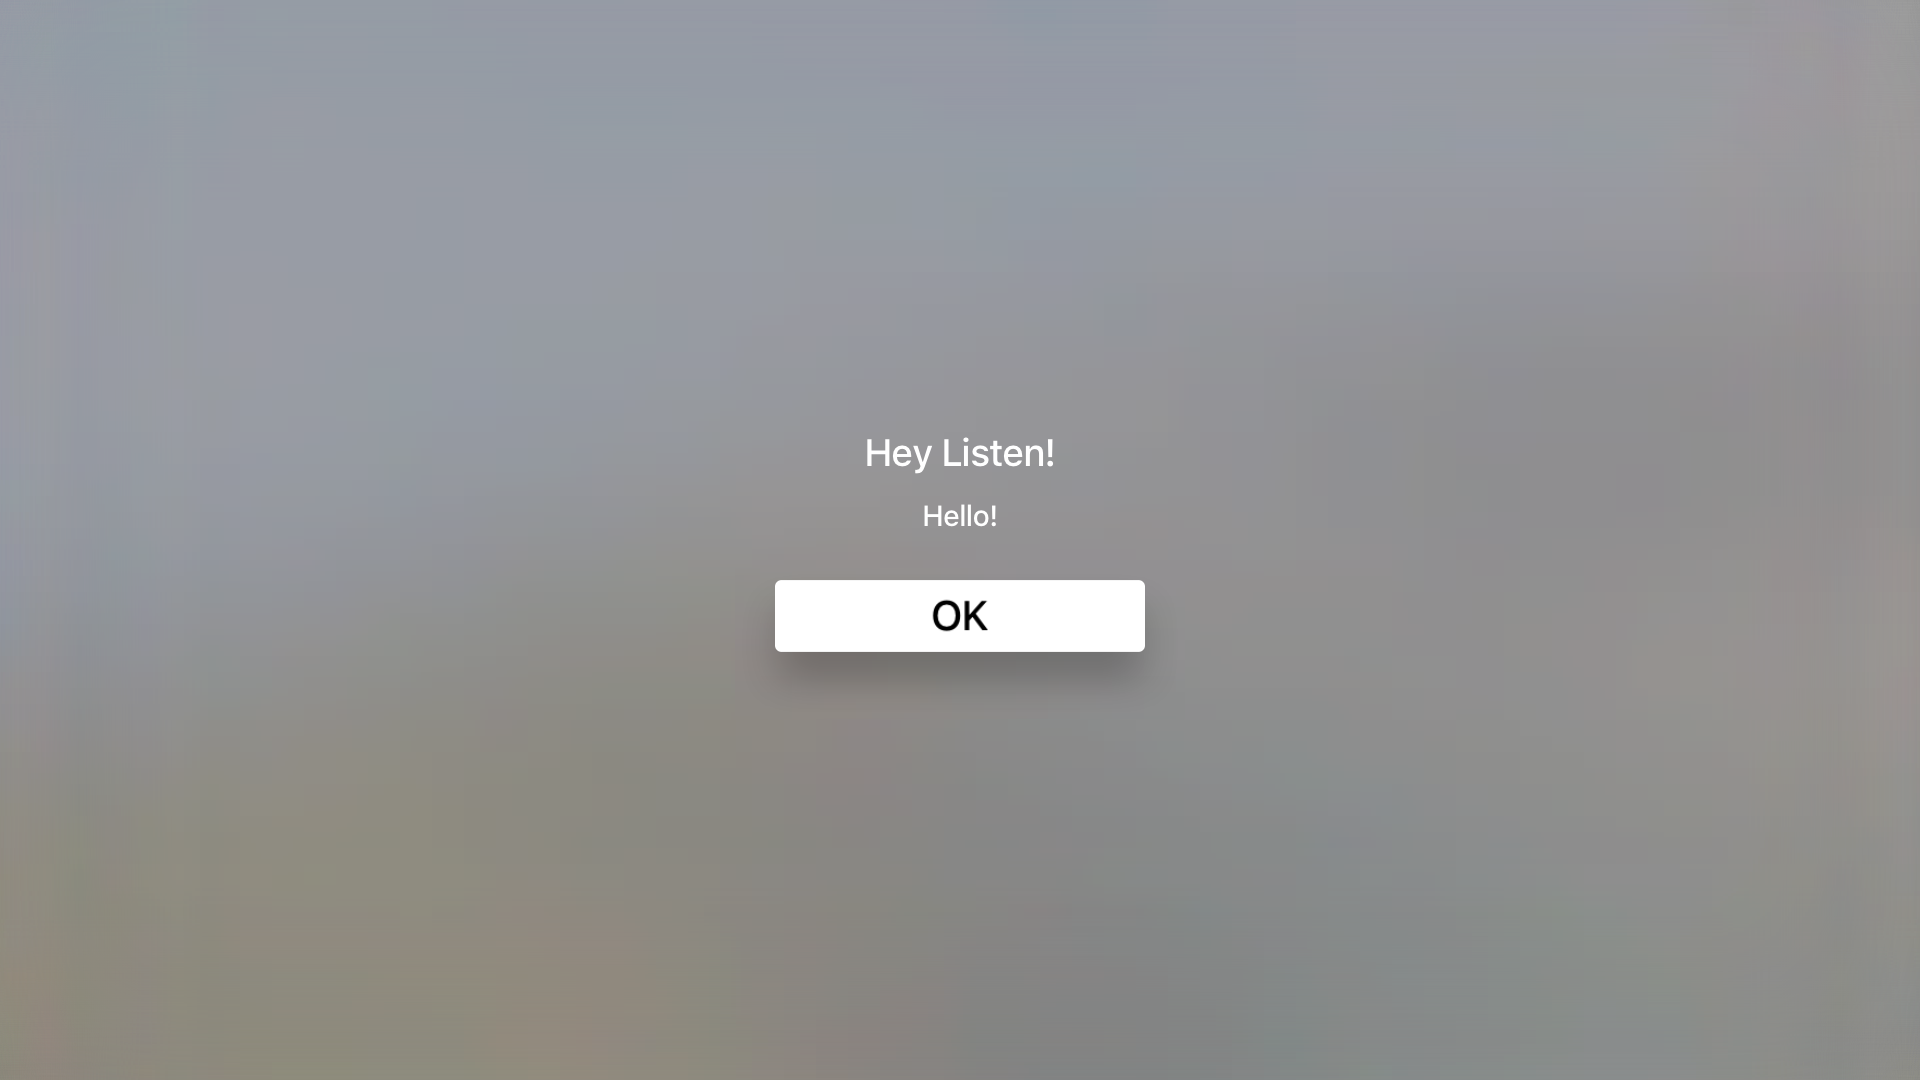
Run the app and you’ll see a cool tvOS alert saying “Hello!” However, clicking OK does nothing. So how do we handle event’s such as touch?
Basically, if you want to stay in JavaScript and TVML, you will want to add an event listener to the DOM element. So for example, we could add a second argument to the alert function, so that we can pass in a function that is called when the OK button sends the event for being “selected”. We’ll add this argument and call it doneCallback. To add the event listener, we can simply do so like this:
alertDOMElement.addEventListener("select", function() { doneCallback }, false);
So after updating the entire function, it should look like this:
function alert(str, doneCallback) { var alertXMLString = `<?xml version="1.0" encoding="UTF-8" ?> <document> <alertTemplate> <title>Hey Listen!</title> <description>${str}</description> <button> <text>OK</text> </button> </alertTemplate> </document>` var parser = new DOMParser(); var alertDOMElement = parser.parseFromString(alertXMLString, "application/xml"); alertDOMElement.addEventListener("select", doneCallback, false); navigationDocument.presentModal(alertDOMElement);}
Now, we can modify our original onLaunch function to add a callback function that will present a TVML screen. Before we do that, let’s also add a function called getDocumentContents which similarly implements a callback function when loading is done, which passes in the XMLHttpRequest object’s response to the callbacks only argument. This allows us to more easily load in various types of TVML files.
function getDocumentContents(url, loadCallback) { var templateXHR = new XMLHttpRequest(); templateXHR.responseType = "document"; templateXHR.addEventListener("load", function() { loadCallback(templateXHR) }, false); templateXHR.open("GET", url, true); templateXHR.send(); return templateXHR;}
This is nearly the same code as the getDocument method we defined earlier, except this is asynchronous and does not actually push anything on to the view.
Now, with this function we can perform this call and then do a screen replace of the alert when the OK button is clicked.
App.onLaunch = function(options) { alert("Hello!", function() { navigationDocument.dismissModal(); navigationDocument.pushDocument(xhr.responseXML); }); });}
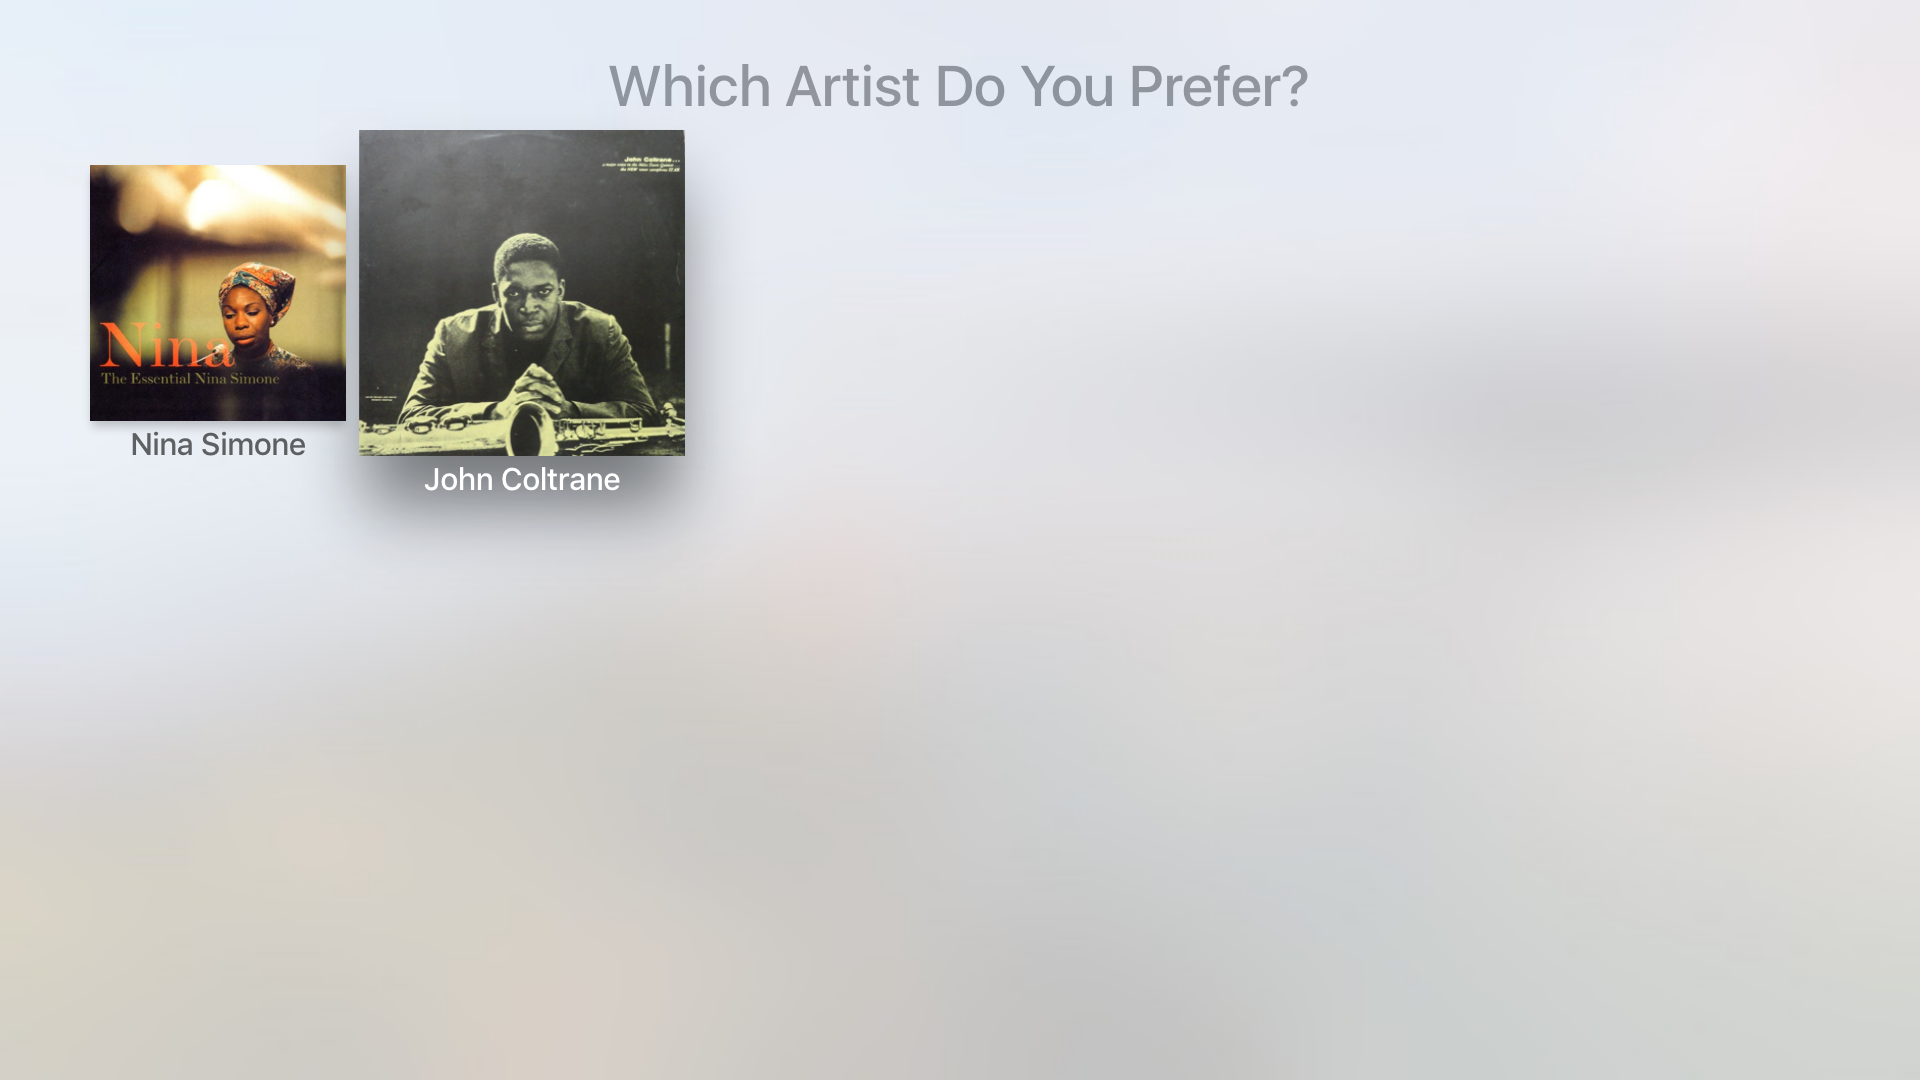
Let’s also change our hello.tvml file to use the stackTemplate, since it’s more interesting to look at. A stackTemplate is a nice way to lay out a list of content with title’s and images. Here’s the example I’ll be using in my demo:
<document> <stackTemplate> <banner> <title>Which Artist Do You Prefer?</title> </banner> <collectionList> <shelf> <section> <lockup> <title>Nina Simone</title> </lockup> <lockup> <title>John Coltrane</title> </lockup> </section> </shelf> </collectionList> </stackTemplate></document>
So basically this is just the way a stackTemplate is laid out, the banner is the top banner, the collectionList is just something that contains many shelf objects, which is just something that contains section objects, which contains lockup objects. The lockup object is what actually contains our image and title. In my case I added some images to work with to my directory called nina.png and coltrane.png
Hi,
I´m a little bit confused 🙂
The main.js is running on a server. And my tvos app is the client which is connecting to that.
What is the real world scenario?
Is the main.js, which i added to the project, running on the AppleTV? Is the real hardware my webserver?
So localhost is correct?
Or do I have to deploy my js file on my own dedicated webserver?
Web programming is new for me…
regards
Martin
You would deploy on a web server, these files are static so all you really need is any basic web host (Digital Ocean for example) with apache installed.
Thanks for creating this tutorial, it’s very informative! I am left wondering how to distinguish which element was “clicked on” to perform navigation on user selection. To use your code as reference, The last template you show displays two selections (Nina Simone and John Coletrane). When you user selects John Coletrane and taps the remote to “click” that option how would I proceed to load/navigate to a new template? Let’s say I want to navigate to a different template when Nina Simone is selected. In traditional HTML JQuery this can handled with a small script. So I’m looking for the TVJS counterpart to this.
$(“sec1″).click(function() {
window.location.href=”$(this.BASEURL)/Parade.xml.js”;
});
It appears we can’t even use id attribute to distinguish, so I assume this would be invalid.
Nina Simone
John Coltrane
You can pretty much add whatever attribute like and listen for the select event. It works how you would expect from web development, except you might find it difficult to use jQuery.