
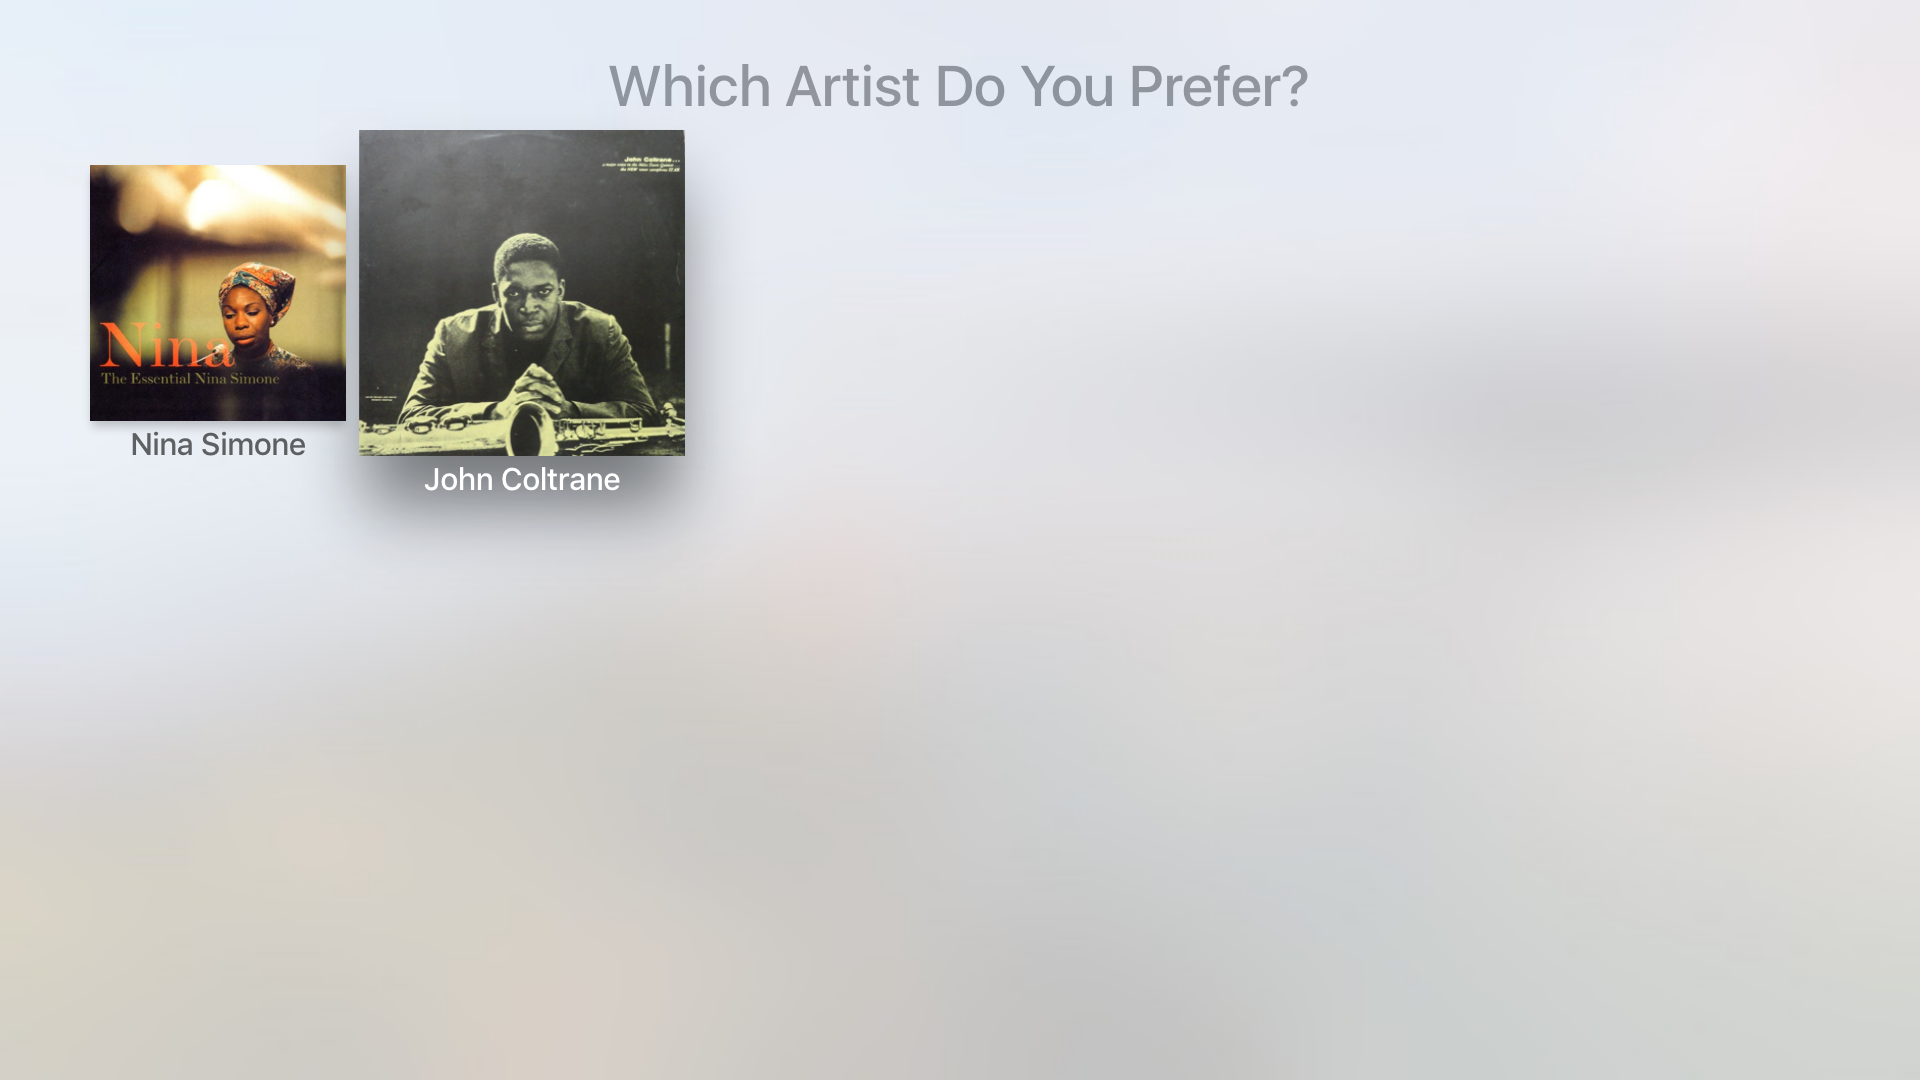
Here’s what you’ll have at the end of part 2 of this tutorial if you follow along:
Looking for some help building your Apple TV tvOS App? I’m available for consulting and development, contact me.
Apple TV Developer Tools
Before we get started you’ll need the Xcode 7.1 beta, which you can download here:
Download Xcode 7.1 Beta
Note that this does require an Apple Developer account, and is currently pre-release, so some things may change!
One thing to note when installing is that there is a known issue if you rename the Xcode 7.1 app, apparently people do this. So just a forewarning… don’t do that or you’ll get a crashy tvOS Simulator.
Also note that while Yosemite is supported, the capabilities are limited. It is recommend that for tvOS development you use OS X 10.11 El Capitan or newer. The El Capitan beta can be downloaded here.
Let’s start with some simple definitions…
Becoming an Apple TV Developer – Vocabulary
TVMLKit
TVMLKit is Apple’s new framework designed for working with Javascript and XML to provide a rich user-interface on tvOS, while allowing your apps logic to be written in Swift or Objective-C.
TVML
TVML is short for “TV Markup Language” and is basically just some XML that describes how items are laid out in a client-server based tvOS app. When laying out an interface, we want to use some TVML templates that Apple provides to create our UI, and then we can script the interactions in TVJS.
TVJS
As far as I can tell, TVJS is just JavaScript like you might already be familiar with.
Hello World
Let’s start out by making a basic hello world. In terms of Apple TV, we could just log “Hello World” to the console and that would be a decent start, but let’s start digging in to some of the Apple TV’s TVMLKit elements and put up a template on-screen.
First, open Xcode 7.1 and create a new project. You’ll see a list of templates appear. On the left-hand side we want to select **CHANGE tvOS, and then select Single View Application* template.
This will create a number of files from the tvOS template which are going to be useful in setting up our UI, and gives us a simple entry point to start coding Swift as well.
Setting up the main TVJS file
So basically the “server” in client-server tvOS apps is the TVML and JavaScript files, and whatever associated data they need to operate. The JavaScript file will be what loads in the TVML, and adds the page to the view stack. Another way to think of this is that the JavaScript file acts as a router or controller for the TVML files which are basically the views.
Kicking things off
First, we want to make some modifications to the AppDelegate.swift file that launches the app. For one, we need our application to adhere to the TVApplicationControllerDelegate protocol. This is defined in the TVMLKit framework, so we’ll need to import that as well. So you’ll want to update your AppDelegate.swift to include those two items:
import TVMLKit class AppDelegate: UIResponder, UIApplicationDelegate, TVApplicationControllerDelegate { ....
This interface has four functions that tvOS calls upon the implementing AppDelegate to notify our app of the lifecycle of the tvOS application. We don’t need to worry about these just yet, but we’ll dig in to these in later tutorials. For now, just add the protocol as shown in the code snippet above, and that’s enough to get us started.
Next, we need to add some code to actually launch our JS file. This is a beta, and actually requires we do this work ourselves, I’m sure in future Xcode version’s this will simply be a template.
In the application didFinishLaunchingWithOptions function we need to perform a few steps. These steps are unlikely to change for each individual app so you can simply copy this snippet here:
// We'll hold a reference to the app controller in an optional propertyvar appController: TVApplicationController? func application(application: UIApplication, didFinishLaunchingWithOptions launchOptions: [NSObject: AnyObject]?) -> Bool { self.window = UIWindow(frame:UIScreen.mainScreen().bounds) let appControllerContext = TVApplicationControllerContext() let javascriptURL = jsFilePath! appControllerContext.javaScriptApplicationURL = javascriptURL if let options = launchOptions { for (kind, value) in options { if let kindStr = kind as? String { appControllerContext.launchOptions[kindStr] = value } } } self.appController = TVApplicationController(context: appControllerContext, window: self.window, delegate: self) return true}
In short, what this code does is it gets a reference to an TVApplicationControllerContext, a class that simply provides some launch data to our AppDelegate class, and gives us an interface to make adjustments to the launch process. Then it passes the URL of the main.js file we’re going to execute, and sets the path for the app controller to be that path.
We need to now add our javascript file, so click File > New, and then under the iOS tab you can select an Other > Empty file. Name this file main.js.
Do the same thing for a new file called hello.tvml.
In your main.js file we’ll add some relatively simple JavaScript to load in the hello.tvml file:
function getDocument(url) { var templateXHR = new XMLHttpRequest(); templateXHR.responseType = "document"; templateXHR.addEventListener("load", function() {pushDoc(templateXHR.responseXML);}, false); templateXHR.open("GET", url, true); templateXHR.send(); return templateXHR;} function pushDoc(document) { navigationDocument.pushDocument(document);} App.onLaunch = function(options) { getDocument(templateURL);} App.onExit = function() { console.log('App finished');}
Now in the hello.tvml file:
<document> <alertTemplate> <title>Hello tvOS!</title> </alertTemplate></document>
This TVML file is the meat of the UI. Documents must use templates or you’ll get crashes at runtime with the code we’re using. It just contains a simple template and a single title element.
One issue I found with setting things up is that I was unable to locally refer to these files, and instead they have to be on a web server. So, what is easiest to do is navigate to the location of your tvml and js files we just created and type the following command in the command line:
Setting up the server to host the files
python -m SimpleHTTPServer 8000
This just uses Mac OS’s built-in python interpreter to start a web server on port 8000 serving up the local directory. If you copied my code shown above you should now be able to boot in to your tvOS simulator by pressing the play button in Xcode! There is one more issue you should be aware of, which is that this is an http unsecured request. In iOS 9 this is blocked by default by App Transport Security. In order to allow localhost to be used in this way, we need to add a key to the Info.plist file.
Allowing Arbitrary Loads
Select your Info.plist file and add a new record by pressing one of the (+) buttons. In the list find “App Transport Security Settings” and press return. This will create a new Dictionary row, expand this and press the (+) button on this row to add a child row. For this one find, “Allows Arbitrary Loads” and set it to true. With this in place we can run the app and preview using the simulator.
Adding Buttons
What you’re seeing in this example is actually a template from Apple called the alertTemplate. You can also embed a few basic controls, such as text and buttons within the template. Try adding a few buttons to select from:
<document> <alertTemplate> <title>Hello tvOS!</title> <button> <text>A Button</text> </button> <button> <text>A Second Button</text> </button> </alertTemplate></document>
Here we just are adding child button elements, each with it’s own child text element. This in turn displays the fullscreen alert and the two buttons on the tvOS simulator. The official Apple documentation has a list of each template, and control you can use if you want to hit the ground running. Otherwise stay tight, subscribe, and I’ll be bringing you a full tutorial of a fully developed app very soon.
Next Steps
Proceed to PART 2 » of this tutorial to learn how to add interactivity to the app.
If you want me to email you letting you know when new posts are up, be sure to subscribe to my newsletter.
These are still early days, so expect issues. If you get stuck don’t hesitate to contact me on twitter @jquave
Looking for an Apple TV Developer for your tvOS App? I’m available for consulting and development, contact me for more info.
Thanks for the tutorial. Helped with the missing declaration and nice technique for loading in the JS & TVML. I tried to load these form the app. Had success with the JS but not the TVML. Wrote a very short blog post based on yours about it. http://petebarber.blogspot.co.uk/2015/09/a-slight-enhancement-on-developing-tvos.html
Please see part 2, might help you some. What you’re looking for is not “Document”, you want navigatonDocument.documents[0] or something similar.
Objective c translation
– (BOOL)application:(UIApplication *)application didFinishLaunchingWithOptions:(NSDictionary *)launchOptions {
// Override point for customization after application launch.
self.window = [[UIWindow alloc] initWithFrame:[[UIScreen mainScreen] bounds]];
// let appControllerContext = TVApplicationControllerContext()
self.appControllerContext = [[TVApplicationControllerContext alloc] init];
// let javascriptURL = NSURL(string: String(“Enter path to your JavaScript file here”))
NSURL *javascriptURL = [NSURL URLWithString:@”http://localhost:8000/main.js”];
//appControllerContext.javaScriptApplicationURL = javascriptURL!
self.appControllerContext.javaScriptApplicationURL= javascriptURL;
for (id key in launchOptions)
{
id val=[launchOptions objectForKey:key];
NSLog(@”key=%@ value=%@”, key, val);
if([val isKindOfClass:[NSString class]]) [self.appControllerContext.launchOptions objectForKey:val];
}
self.appController = [[TVApplicationController alloc] initWithContext:self.appControllerContext window:self.window delegate:self];
//self.appController = TVApplicationController(context:appControllerContext, window:self.window, delegate: self)
return true;
}
Thanks for this!